Garrie AI: Your Cable Guide


How To Wire a 4-Way Switch?
A 4-way switch is often used to control lights from three or more separate locations. This accounts for over 90% of all 4-way switch applications. However, it can also be used to control fans and ventilation systems from different locations, like in a large room like a living room.
So, how do you wire a 4-way switch?
A 4-way switch is typically used in conjunction with two 3-way switches to control a single light or set of lights from three or more locations. It has four terminals with three toggles. When the switch is up, the current moves through two terminals. When the switch is down, it moves through the other two. A 4-way switch uses traveler wires that run between the switches in multiple ways to complete the circuits.
Wiring a 4-way switch is not the easiest wiring task, but it is the one an experienced DIYer can take up. Here's a step-by-step guide on how to wire a 4-way switch:
What You'll Need:
- Three switches (two 3-way switches and one 4-way switch)
- Electrical wire (14/3 or 12/3, depending on your circuit breaker (15 amps or 20 amps)
- Wire nuts
- Screwdriver
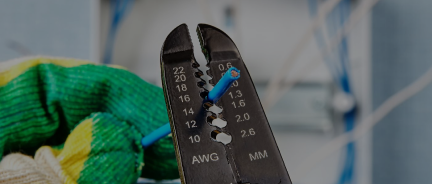
- Wire stripper
- Utility knife
- Lineman pliers
- Voltage tester
- Insulated gloves to protect from electrical shock
Instructions:
1. Turn off the power
- Ensure safety first by turning off the power at the circuit breaker or fuse box. Use the voltage tester to test the power before proceeding.
- Identify the two 3-way switches that will be used with the 4-way switch. The 3-way switches will have three terminals: one common (usually marked as black or labeled "COM") and two travelers (usually brass-colored).
- Connect the power source to the common terminal of the first 3-way switch.
- Run two traveler wires (red and black if using 14/3 or 12/3 wire) from the first 3-way switch to the 4-way switch.
- The 4-way switch has four terminals. Connect the two traveler wires coming from the first 3-way switch to the input terminals on the 4-way switch (usually labeled as "IN" or colored differently).
- Connect another pair of traveler wires from the output terminals on the 4-way switch to the traveler terminals on the second 3-way switch.
- Connect the common terminal of the second 3-way switch to the light fixture(s).
- Complete the ground connections by connecting all the ground wires together and to the ground terminals on each switch.
- In each switch box, prepare the ground connections by using pigtails. Cut a short piece of copper grounding wire, typically about six inches long, for each switch box. Strip the ends of each pigtail and connect one end to the combined bare grounding wires in the box using a wire nut. Attach the other end of each pigtail to the green grounding screw on the switch.
- Once all connections are made, turn on the power and test each switch at all locations to ensure the light operates correctly from every switch position.
Tips:
- Always double-check that the power is off before working on electrical circuits.
- Use a voltage tester to confirm that wires are not live before touching them.
- Labeling wires as you work can help prevent confusion, especially when working with multiple wires and connections.
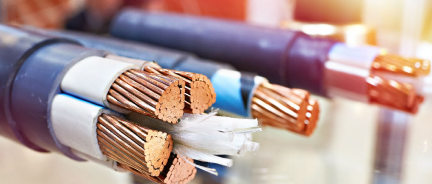
The cable used for 4-way light switches is NM-B wire for interior wiring.

What is the difference between a 3-way switch and a 4-way switch?
3-way light switches are used to control the light from two different locations. They can work on their own. 4-way light switches that control the light from three different locations are used only in combination with 3-way light switches.
Сables Featured In This Blog

- Sale price
- $0.72
- Regular price
- $0.72

- Sale price
- $0.51
- Regular price
- $0.51

- Sale price
- $1.17
- Regular price
- $1.17

- Sale price
- $1.64
- Regular price
- $1.64

- Sale price
- $1.12
- Regular price
- $1.12

- Sale price
- $0.82
- Regular price
- $0.82

- Sale price
- $1.52
- Regular price
- $1.52

- Sale price
- $1.58
- Regular price
- $1.58

- Sale price
- $0.82
- Regular price
- $0.82
- Sale price
- $1.22
- Regular price
- $1.22