Garrie AI: Your Cable Guide


How To Wire a Dimmer Switch?

A dimmer switch allows you to choose the right level of light for the functioning of the room. It also helps save energy and may even help bulbs last longer. Here is how to install a dimmer switch step-by-step:
Tools and materials needed:
- Dimmer switch
- Screwdrivers (flathead and Phillips)
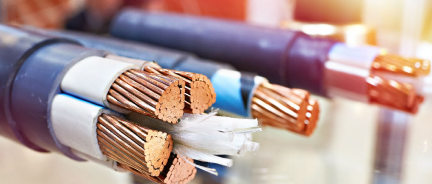
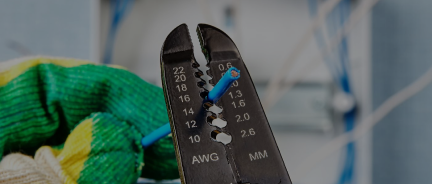
- Wire strippers
- Electrician pliers
- Phillips mounting screws
- Electrical tape
- Voltage tester
- Wire nuts
- Pliers
- Wall plate (if needed)
- Wire labels
Safety first:
- Before starting, turn off the power to the circuit you will be working on at the main circuit breaker panel.
- Use a voltage tester to ensure that the power is off at the switch.
Steps to wire a dimmer switch:
- Remove the old switch:
- Remove the wall plate by unscrewing it.
- Unscrew the existing switch from the electrical box.
- Carefully pull the switch out of the box, keeping the wires attached.
- Disconnect the wires:
- Take note of how the wires are connected to the old switch. Take a photo for reference.
- Single-pole: Typically has two wires (one black or red and one black or red) connected to the switch and a green or bare copper ground wire.
- Three-way: Typically has three wires (one common wire, two traveller wires) and a green or bare copper ground wire.
- Four-way: Typically has four wires (two traveller wires in, two traveller wires out) and a green or bare copper ground wire.
- Use the screwdriver to disconnect the wires from the old switch.
- Prepare the dimmer switch:
- Most dimmer switches come with wire leads. Strip about ¾ inch of insulation from the ends of the wires if needed.
- Connect the wires:
- Ground wire: Connect the green or bare copper wire from the dimmer switch to the green or bare copper ground wire in the electrical box. Twist the wires together and secure them with a wire nut.
- Connect the white neutral wire from the dimmer switch to the white neutral wire in the electrical box if the switch requires the neutral wire. Twist the wires together and secure them with a wire nut. This step is necessary if your dimmer switch requires a neutral connection (common for many modern dimmer switches, especially smart dimmers).
- Single-pole:
- Connect one of the black or red wires from the dimmer switch to the black or red wire in the electrical box (hot).
- Connect the other black or red wire from the dimmer switch to the remaining black or red wire in the electrical box (load).
- Three-way:
- Connect the black (standard) wire from the dimmer switch to the common wire in the electrical box.
- Connect the red traveller wires from the dimmer switch to the traveller wires in the electrical box.
- Four-way:
- Connect the green or bare copper wire from the dimmer switch to the ground wire in the electrical box.
- Connect the two traveller wires from the dimmer switch to the traveller wires in the electrical box.
- Install the dimmer switch:
- Carefully tuck the wires back into the electrical box.
- Secure the dimmer switch to the electrical box with the screws provided.
- Attach the wall plate over the dimmer switch.
- Test the installation:
- Turn the power back on at the circuit breaker.
- Test the dimmer switch by turning it on and adjusting the dimming level. Ensure that the lights turn on and dim correctly.
- For three-way and four-way switches: Test the dimmer switch and any additional switches in the setup to ensure proper operation from all locations.
Additional tips:
- Ensure the dimmer switch is compatible with the type of bulbs you are using (incandescent, CFL, LED, etc.).
- Always follow the specific instructions provided for the proper installation of your dimmer switch.
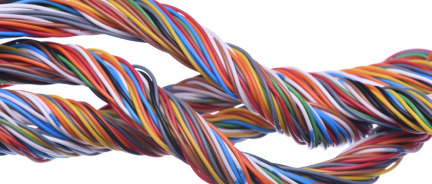
Types of cables for dimmer switches
NM-B is the most common type of cable for dimmer switches in sizes 14/2 or 12/2 for a single-pole switch or 14/3 or 12/3 for a three-way switch. Alternatively, MC metal-clad cable can be used in some commercial installations, and UF-B cable can be used for outdoor installations. All of these cables are available at NNC.
Three-way dimmer switch diagram

Questions and Answers
What is L1 and L2 on a dimmer switch?
L1 is a line terminal that connects hot wire from the electrical panel.
L2 is a load wire terminal where the outgoing wire, which goes to the light fixture, is connected. There is usually an additional terminal for the ground wire.
What are the types of wires on a dimmer switch?
If there are only three wires on a dimmer switch, they are hot, load, and ground. White neutral wire can be present in more complex dimmer switches. If the dimmer switch is designed for a three-way circuit (where two switches control the same light), traveller wires are also present.