Garrie AI: Your Cable Guide


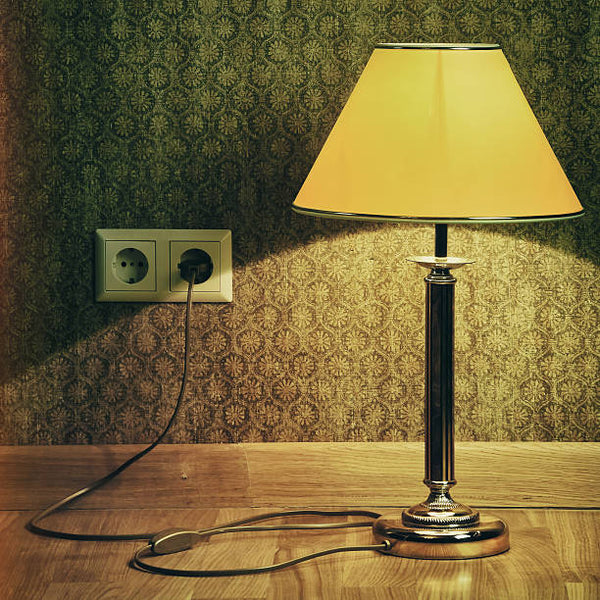
How To Rewire a Lamp?
Rewiring a lamp can be a straightforward task if you have the right tools and follow safety precautions. Here's a step-by-step guide on how to rewire a lamp:

Tools and Materials Needed:
- New lamp cord
- Wire stripper
- Screwdriver
- Lamp replacement socket (if necessary)
- Safety gloves
Steps to Rewire a Lamp
- Be safe: Unplug the lamp and remove the bulb. It’s essential to avoid electric shock and ensure the lamp is not connected to any power source.
- Disassemble the lamp: Depending on the type of lamp, you may need to remove the lampshade, unscrew the bulb socket, and possibly detach the base to access the internal wiring. Some lamps have a felt base that can be gently pried off to access the underside.
- Remove old wiring: Once you have access, you’ll see the old cord attached to the socket's terminals. Unscrew these terminals and remove the old cord. If you're also replacing the socket, now would be the time to do so.
- Prepare the new cord: Using a wire stripper, strip off about 1/2 inch of insulation from the ends of the new cord to expose the wires. If your lamp has a polarized plug (one blade wider than the other), note which wire (neutral or hot) goes to which terminal on the socket. Typically, the neutral wire (identified by ribbing, marking, or color coding) connects to the silver screw, and the hot wire (smooth insulation) connects to the brass screw.
- Thread the new cord: Feed the new cord through the lamp, starting from the base and pushing it up towards the top where the socket is. Ensure there are no twists or kinks in the cord as you pull it through.
- Connect the new cord to the socket: Attach the exposed wires to the socket's terminals—neutral wire to the silver screw and hot wire to the brass screw. If the socket is not polarized, the connection direction may not matter, but it's best to follow standard practices for safety.
- Reassemble the lamp: Once the new cord is connected, reassemble any parts of the lamp you had to disassemble. Make sure everything is secure.
- Test the lamp: Before putting the bulb back in and the lampshade on, plug in the lamp to test if it works. If it lights up, you’ve successfully rewired your lamp. If not, unplug it and double-check your connections.
Safety Tips:
- Always unplug the lamp before starting any work.
- Wear gloves when handling wires to protect yourself from sharp edges.
- If unsure about the wiring, consult with a professional electrician.
Notes on different types of lamps
- A 2-socket lamp can either have two sockets that operate independently or together. The rewiring process is similar to any standard lamp but with double the connections.
- 3-way lamps allow for three brightness levels and require a 3-way bulb and a 3-way socket.
- Converting a lamp from 110V to 220V involves several considerations, including the lamp's compatibility with the higher voltage and the need for a plug and cord rated for 220V use. You must replace the cord and plug, then reconnect the wiring.
What are the cables to rewire a lamp?
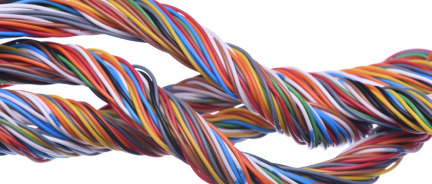
When rewiring a lamp, you'll typically need a specific type of electrical cable known as a "lamp cord" or "lamp wire." This type of cable is designed specifically for use with lamps and similar lighting fixtures. Here are the key characteristics and types of cables you might consider for rewiring a lamp:
- SPT-1 vs. SPT-2: The most common types of lamp cord are SPT-1 and SPT-2. The difference between them lies in the thickness of the insulation. SPT-1 has thinner insulation and is suitable for most table lamps and lightweight applications. SPT-2 has thicker insulation, making it slightly more durable and better suited for higher-wattage lamps or situations where the cord might undergo more wear and tear.
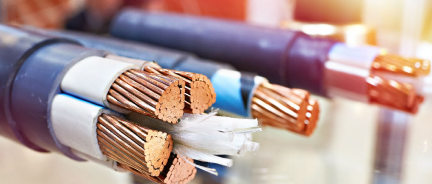
- SPT-3: For even heavier-duty applications, SPT-3 cords are available, though they are less common in typical lamp rewiring projects. SPT-3 cords have even thicker insulation and are used for high-powered appliances and equipment, generally more than what's necessary for standard lamps.
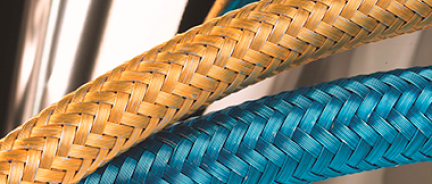
- SVT (Service Vacuum Thermoplastic) and SJT (Service Junior Thermoplastic): These types of cords are used for applications requiring more durability and flexibility. They're often found in heavier-duty appliances and commercial equipment. While they can technically be used for lamps, they are bulkier and not as visually discreet as SPT cords.
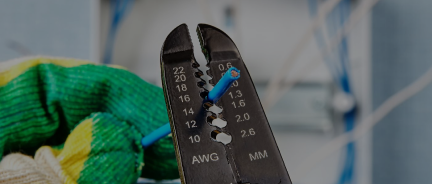
- For most household lamps, a gauge of 18 is sufficient. The choice of gauge may depend on the lamp’s power requirements and the length of the cord.
- You can purchase lamp cords by the foot or in pre-packaged lengths. Choose a length that suits your needs, considering the distance from the lamp to the outlet and any routing around furniture or other obstacles.
- If you're replacing the entire cord, you might also need a new plug. Plugs can be polarized or non-polarized, and some are designed for easy attachment without the need for stripping wires or using screws.
When purchasing a lamp cord, ensure it's rated for the voltage and wattage of your lamp. In terms of price, rewiring a lamp cord is cheap, as the price is around $0.30 to $1.00 per foot of a lamp cord, the socket can cost between $2 to $15, a plug between $1 to $5, and tools up to $20.
NNC sells all kinds of SPT cords at excellent prices.