Garrie AI: Your Cable Guide


How To Wire A Ceiling Fan? The Guide
Ceiling fans are a good addition to any home or office, as they provide an energy-efficient way to circulate air and keep spaces cool. In this article, we will guide you through the process of wiring a ceiling fan, from general tips to color coding and step-by-step instructions. But first, let's figure out the ampacity of a ceiling fan.
How Many Amps Does a Ceiling Fan Use?
The number of amps a ceiling fan uses depends on its size, speed, and the type of motor it has. In general, the draw of the ceiling fan is very low. The common voltage of the ceiling fan is 120 V. Here's a general estimate of its ampacity:
- Standard ceiling fan (without lights):
- Low speed: ~0.5 to 0.6 amps
- High speed: ~0.8 to 1.0 amps
- Ceiling fan with lights:
- Fan only: ~0.5 to 1.0 amps (depending on speed)
- Lights on: Additional 0.5 to 2.0 amps, depending on the type of bulbs used (LED, incandescent, or CFL).
A ceiling fan will likely have an ampacity between 0,5 and 2 amps, depending on its characteristics. Given its low ampacity, a ceiling fan is typically installed on a 15-amp circuit. The circuit does not need to be dedicated; a ceiling fan can be shared with lights or even other ceiling fans. You can put as many as 15-20 ceiling fans on one circuit, even though you probably don't have to.
General Tips to Wire Ceiling Fans
Before we dive into the specifics of wiring a ceiling fan, here are some general tips to keep in mind:
- Turn off the power: Before starting any electrical work, make sure to turn off the power to the room where you'll be working. This will prevent any accidents or injuries.
- Use a voltage tester: Before touching any wires, use a voltage tester to ensure that the power is off. This tool will help you confirm that there is no electricity flowing through the wires. The KLEIN Digital Multimeter is a complete and affordable option.
- Read the manual: Each ceiling fan comes with its own set of instructions and wiring diagrams. Make sure to read the manual carefully before starting the installation process.
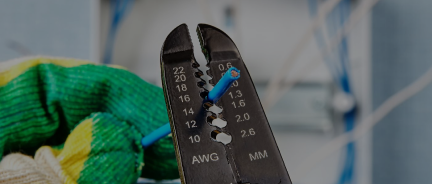
- Use the right tools: To wire a ceiling fan, you will need a variety of tools, including wire strippers, pliers, screwdrivers, and wire nuts. Make sure to have all the necessary tools before starting the installation.
Ceiling Fan Wiring Color Coding
When wiring a ceiling fan, it is important to understand the color coding of the wires. Here is a quick guide to the wiring colors and their roles:

Wiring Ceiling Fan Step By Step
-
Make sure to turn off the power to the room where you will be installing the ceiling fan.
-
If you are replacing an old light fixture with a ceiling fan, remove the old fixture and disconnect the wiring.
-
Follow the manufacturer's instructions to assemble the ceiling fan. Make sure to attach the mounting bracket to the ceiling and secure it with screws.
-
If your ceiling fan does not have a pre-installed fan brace, you will need to install one. Follow the manufacturer's instructions to install the fan brace.
-
Connect the black or red wire from the ceiling to the black or red wire from the fan. Then, connect the white wire from the ceiling to the white wire from the fan. Again, use a wire nut to secure the connection. And finally, connect the green or bare copper wire from the ceiling to the green or bare copper wire from the fan. Always use a wire nut to secure the connection.
-
Attach the canopy to the ceiling bracket and secure it with screws.
-
Install the fan blades to the motor housing according to the manufacturer's instructions.
- Once you have completed the wiring and installation, turn on the power and test the fan to ensure it is working properly. Also, a good recommendation is to practice an electrical safety checklist not only for the fan connection but all the connections you have at home.
What is the best cable for wiring a ceiling fan?
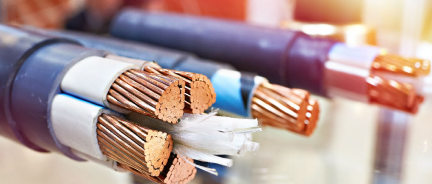
One of the most commonly used cables for ceiling fans is NM-B wire, which stands for non-metallic sheathed cable with a heat-resistant nylon jacket. NM-B wire is specifically designed for use in dry, indoor locations. This makes it a great choice for wiring ceiling fans in bedrooms, living rooms, and other indoor spaces. Also, it is easy to strip, cut, and splice, which makes it a popular choice among DIY enthusiasts. This cable is also lightweight and flexible, which makes it easy to maneuver during installation. Finally, NM-B is easily the most affordable wire option for a ceiling fan.
Another option similar to the NM-B wire is the Type MC cable, a good choice of quality and pricing. Both types of wires comply with the electrical code requirements for residential wiring, which means it is a safe and reliable selection for ceiling fan installations.
A common wire gauge for ceiling fan wire is 14 AWG, given that it is usually installed on a 15-amp circuit.